

Connecting a TFT LCD to a computer can seem like a daunting task, especially if you're new to the world of electronics. However, with a clear understanding of the process and the right tools, it can be a straightforward and rewarding experience. As a TFT LCD supplier, I'm here to guide you through the steps and provide you with valuable insights to ensure a successful connection.
Understanding TFT LCDs
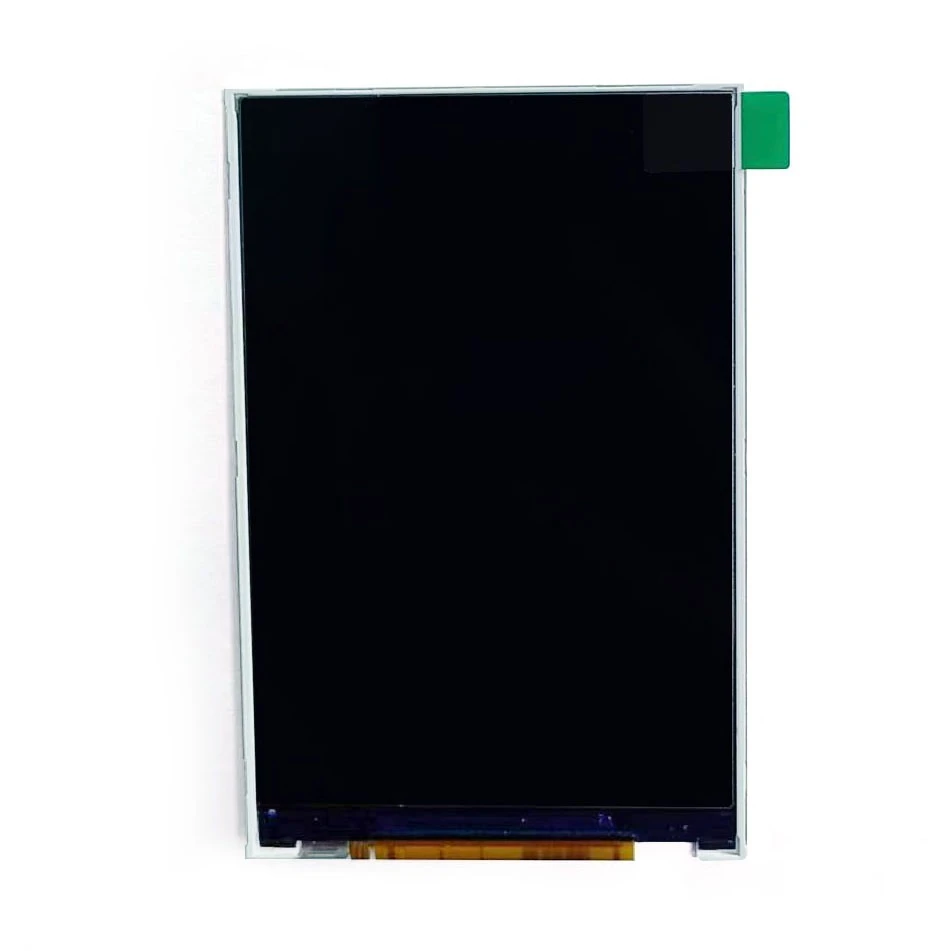
Before we dive into the connection process, let's take a moment to understand what TFT LCDs are. TFT, or Thin-Film Transistor, LCDs are a type of liquid crystal display that uses thin-film transistors to control the individual pixels on the screen. This technology provides high-resolution images, fast response times, and excellent color reproduction, making TFT LCDs ideal for a wide range of applications, including computers, smartphones, tablets, and industrial equipment.
There are various sizes and specifications of TFT LCDs available in the market. For example, we offer 3.5 tft lcd, 2.4 tft spi 240x320, and 1.8 128x160 rgb tft lcd, each with its own unique features and performance characteristics. Depending on your specific needs, you can choose the most suitable TFT LCD for your project.
Prerequisites
Before you start connecting the TFT LCD to your computer, you need to gather a few essential tools and components:
- TFT LCD Display: Choose the appropriate TFT LCD based on your requirements, such as size, resolution, and interface type.
- Computer: You'll need a computer with the necessary ports to connect the TFT LCD. This could be a desktop computer or a laptop.
- Interface Cables: Depending on the interface type of your TFT LCD (e.g., HDMI, VGA, USB), you'll need the corresponding cables to establish the connection between the LCD and the computer.
- Power Supply: Make sure you have a suitable power supply for the TFT LCD. Some LCDs come with an integrated power supply, while others may require an external power adapter.
- Driver Software: In some cases, you may need to install driver software on your computer to enable proper communication between the TFT LCD and the operating system. Check the manufacturer's documentation for your specific LCD model to see if driver installation is necessary.
Connection Steps
The connection process can vary depending on the interface type of your TFT LCD. Here are the general steps for connecting a TFT LCD to a computer using different interfaces:
HDMI Connection
- Power Off: Turn off both the computer and the TFT LCD to prevent any electrical damage during the connection process.
- Locate the HDMI Ports: Find the HDMI output port on your computer and the HDMI input port on the TFT LCD. The HDMI port is usually a rectangular port with 19 pins.
- Connect the HDMI Cable: Plug one end of the HDMI cable into the HDMI output port on the computer and the other end into the HDMI input port on the TFT LCD.
- Power On: Turn on the computer and the TFT LCD. The computer should automatically detect the connected display. If not, you may need to adjust the display settings on your computer to select the TFT LCD as the primary or secondary display.
VGA Connection
- Power Off: As with the HDMI connection, turn off both the computer and the TFT LCD.
- Locate the VGA Ports: Find the VGA output port on your computer and the VGA input port on the TFT LCD. The VGA port is a blue, D-shaped port with 15 pins.
- Connect the VGA Cable: Plug one end of the VGA cable into the VGA output port on the computer and the other end into the VGA input port on the TFT LCD.
- Power On: Turn on the computer and the TFT LCD. You may need to adjust the display settings on your computer to set the correct resolution and refresh rate for the TFT LCD.
USB Connection
- Power Off: Turn off the computer and the TFT LCD.
- Connect the USB Cable: Plug one end of the USB cable into the USB port on the computer and the other end into the USB input port on the TFT LCD.
- Install Driver Software: If required, install the driver software for the TFT LCD on your computer. This software can usually be downloaded from the manufacturer's website.
- Power On: Turn on the computer and the TFT LCD. The computer should recognize the connected display and install the necessary drivers automatically. If not, you may need to follow the on-screen instructions to complete the driver installation process.
Troubleshooting
Even if you follow the steps correctly, you may encounter some issues when connecting the TFT LCD to your computer. Here are some common problems and their solutions:

- No Display: Check if the power supply to the TFT LCD is working properly. Make sure the cables are securely connected to both the computer and the LCD. Try using a different cable or port to see if the problem persists.
- Incorrect Resolution: Adjust the display settings on your computer to set the correct resolution for the TFT LCD. You can usually find the display settings in the Control Panel or System Preferences of your operating system.
- Color Issues: If you notice color distortion or incorrect color reproduction, check the color settings on your computer and the TFT LCD. You may need to calibrate the display to ensure accurate color representation.
Contact for Purchasing and Consultation
If you're interested in purchasing TFT LCDs or need further assistance with the connection process, please feel free to get in touch with us. Our team of experts is ready to provide you with detailed information, technical support, and competitive pricing. Whether you're working on a small DIY project or a large-scale industrial application, we have the right TFT LCD solutions for you.
References
- "TFT LCD Technology Basics." Electronic Design.
- Manufacturer's documentation for the specific TFT LCD models.