

Hey there! If you're into DIY electronics projects, especially something as cool as a pH meter, then you've probably heard of 7-segment LCDs. I'm an actual 7-segment LCD supplier, and I'm here to share some tips on how you can use these nifty displays in your pH meter project.
Why Choose a 7-Segment LCD for Your pH Meter?
First off, let's talk about why a 7-segment LCD is a great choice for a pH meter. pH values usually range from 0 to 14, which can be easily displayed using a 7-segment LCD. These displays are simple, easy to read, and can show numerical values clearly. They're also relatively inexpensive, making them a budget-friendly option for hobbyists and DIYers.
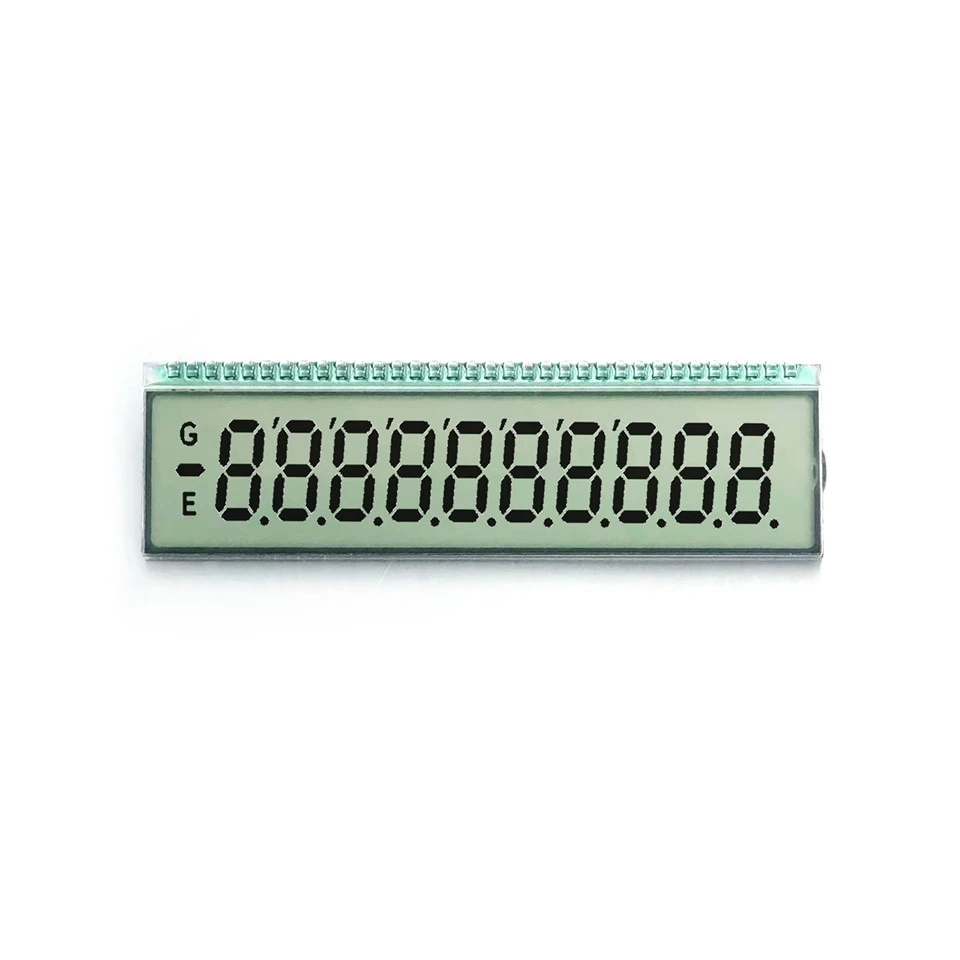

Another advantage is that 7-segment LCDs are low-power devices. Since a pH meter is often a portable device, power consumption is a crucial factor. A 7-segment LCD won't drain your battery quickly, allowing your pH meter to run for longer periods without needing a recharge.
Types of 7-Segment LCDs
There are several types of 7-segment LCDs available in the market. As a supplier, I've seen a lot of different models, and each has its own unique features.
One popular type is the Reflective Monochromatic FSTN LCD. This type of LCD uses ambient light to display the numbers, which means it doesn't need a backlight. It's great for outdoor use where there's plenty of sunlight. The FSTN technology provides good contrast and wide viewing angles, making it easy to read the pH values from different positions.
Then there's the Reflective LCD Screen. Similar to the FSTN LCD, it also relies on ambient light. However, it has a different appearance and may offer different levels of contrast. Reflective LCD screens are often used in applications where power consumption is a major concern, as they don't require any additional power for illumination.
The VA LCD Display is another option. VA stands for Vertical Alignment, which provides high contrast ratios and excellent viewing angles. These displays are often used in applications where image quality is important, and they can also be a great choice for a pH meter, especially if you want a more professional-looking display.
Connecting the 7-Segment LCD to Your pH Meter
Now, let's get into the nitty-gritty of connecting the 7-segment LCD to your pH meter. The first step is to understand the pinout of the LCD. Most 7-segment LCDs have 10 to 12 pins, depending on whether they have a decimal point or not.
You'll need to connect the power pins (usually VCC and GND) to your power source. Make sure to check the voltage requirements of the LCD, as different models may require different voltages. Most 7-segment LCDs operate at 3.3V or 5V.
Next, you'll need to connect the segment pins. These pins are used to control each of the seven segments (A, B, C, D, E, F, and G) of the display, as well as the decimal point if it's available. You can use a microcontroller, such as an Arduino, to control these pins.
Here's a simple example of how you can connect a 7-segment LCD to an Arduino:
// Define the pins for the 7-segment LCD
const int segmentPins[7] = {2, 3, 4, 5, 6, 7, 8};
const int decimalPin = 9;

void setup() {
  // Set the segment pins as output
  for (int i = 0; i < 7; i++) {
    pinMode(segmentPins[i], OUTPUT);
  }
  pinMode(decimalPin, OUTPUT);
}

void loop() {
  // Display a number (e.g., 5)
  displayNumber(5);
  delay(1000);
}

void displayNumber(int number) {
  // Define the segment patterns for each number
  byte segmentPatterns[10] = {
    0b00111111, // 0
    0b00000110, // 1
    0b01011011, // 2
    0b01001111, // 3
    0b01100110, // 4
    0b01101101, // 5
    0b01111101, // 6
    0b00000111, // 7
    0b01111111, // 8
    0b01101111  // 9
  };

  // Get the segment pattern for the given number
  byte pattern = segmentPatterns[number];

  // Set the segment pins according to the pattern
  for (int i = 0; i < 7; i++) {
    digitalWrite(segmentPins[i], bitRead(pattern, i));
  }
}
This code is a basic example of how you can control a 7-segment LCD using an Arduino. You'll need to modify it to display the actual pH values from your pH sensor.
Programming the Display
Once you've connected the LCD to your microcontroller, you'll need to program it to display the pH values. The first step is to read the pH values from your pH sensor. Most pH sensors output an analog voltage, which you can convert to a pH value using a calibration curve.
Here's an example of how you can read the pH value from a pH sensor and display it on the 7-segment LCD:
// Define the pins for the 7-segment LCD
const int segmentPins[7] = {2, 3, 4, 5, 6, 7, 8};
const int decimalPin = 9;

// Define the pin for the pH sensor
const int pHsensorPin = A0;

void setup() {
  // Set the segment pins as output
  for (int i = 0; i < 7; i++) {
    pinMode(segmentPins[i], OUTPUT);
  }
  pinMode(decimalPin, OUTPUT);
}

void loop() {
  // Read the pH value from the sensor
  int sensorValue = analogRead(pHsensorPin);
  float pHValue = map(sensorValue, 0, 1023, 0, 14);

  // Display the pH value on the LCD
  displayNumber((int)pHValue);
  delay(1000);
}

void displayNumber(int number) {
  // Define the segment patterns for each number
  byte segmentPatterns[10] = {
    0b00111111, // 0
    0b00000110, // 1
    0b01011011, // 2
    0b01001111, // 3
    0b01100110, // 4
    0b01101101, // 5
    0b01111101, // 6
    0b00000111, // 7
    0b01111111, // 8
    0b01101111  // 9
  };

  // Get the segment pattern for the given number
  byte pattern = segmentPatterns[number];

  // Set the segment pins according to the pattern
  for (int i = 0; i < 7; i++) {
    digitalWrite(segmentPins[i], bitRead(pattern, i));
  }
}
This code reads the pH value from the sensor, converts it to a pH value between 0 and 14, and then displays the integer part of the pH value on the 7-segment LCD. You can modify it to display the decimal part as well if you want more accuracy.
Calibration and Troubleshooting
Calibration is an important step in any pH meter project. You'll need to calibrate your pH sensor to ensure accurate readings. This usually involves using known pH solutions (e.g., pH 4, pH 7, and pH 10) and adjusting the calibration curve accordingly.
If you're having trouble getting the LCD to display the correct values, there are a few things you can check. First, make sure the connections are correct and there are no loose wires. You can also check the voltage levels to make sure they're within the acceptable range for the LCD.
If the display is flickering or not showing the full numbers, it could be a problem with the power supply or the programming. Try increasing the power supply voltage slightly or checking your code for any errors.
Conclusion
Using a 7-segment LCD in a pH meter project is a great way to display the pH values clearly and efficiently. With the right type of LCD and proper programming, you can create a professional-looking pH meter that's easy to use and reliable.
If you're interested in purchasing 7-segment LCDs for your pH meter project or any other electronics project, feel free to reach out to us. We offer a wide range of high-quality 7-segment LCDs at competitive prices. Whether you need a reflective LCD for outdoor use or a VA LCD for better image quality, we've got you covered. Let's start a conversation and see how we can help you bring your project to life!
References
- Arduino Documentation
- pH Sensor Datasheets
- LCD Manufacturer's Manuals