

Yo, what's up! I'm a supplier of 7 Segement LED Graphics, and today I wanna share with you how to connect these cool little things.
First off, let's get a bit of background. 7 Segement LED Graphics are super useful for displaying numbers and some simple characters. You can see them in all sorts of places, like digital clocks, calculators, and even some industrial equipment. If you're interested in learning more about them, you can check out 7 Segement LED Graphics.
Understanding the Basics of 7 Segment LEDs
Before we start connecting them, it's important to know what we're dealing with. A 7 segment LED is made up of seven individual LED segments, usually labeled a, b, c, d, e, f, and g. There's also a decimal point in some cases. By lighting up different combinations of these segments, we can display numbers from 0 - 9 and a few letters.
There are two main types of 7 segment LEDs: common cathode and common anode. In a common cathode 7 segment LED, all the cathodes of the individual LEDs are connected together. To light up a segment, you apply a high voltage (usually 5V) to the corresponding segment's anode and ground the common cathode. On the other hand, in a common anode 7 segment LED, all the anodes are connected together. To light up a segment, you ground the corresponding segment's cathode and apply a high voltage to the common anode.
One - digit 7 Segment LED Connection
Let's start with the easiest one: the One - digit 7 Segment LED. You'll need a few things: a power source (usually 5V), some resistors (to limit the current and protect the LEDs), and some jumper wires.
If it's a common cathode one - digit 7 segment LED:
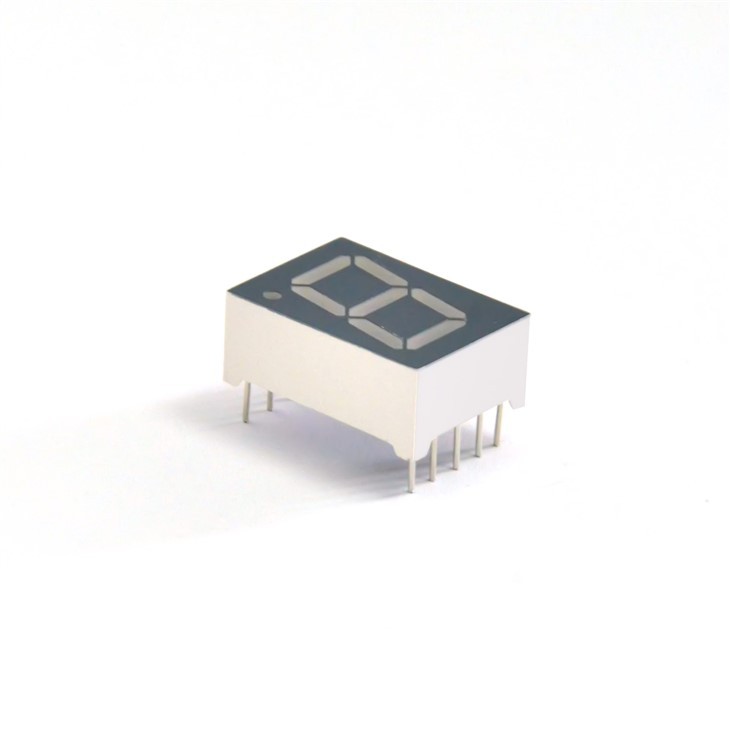

- First, identify the common cathode pin. It's usually the longest pin or marked on the datasheet. Connect it to the ground of your power source.
- Now, for each segment (a, b, c, d, e, f, g), connect a resistor in series. The value of the resistor depends on the forward voltage and current rating of your LED. A common value is around 220 - 330 ohms. Connect one end of the resistor to the corresponding segment pin on the LED and the other end to a digital output pin on your microcontroller (if you're using one) or a high - voltage source (like 5V).
For example, to display the number "0", you need to light up segments a, b, c, d, e, f. So, you'll connect the resistors of these segments to a high voltage source while keeping the resistor of segment g connected to ground.
If it's a common anode one - digit 7 segment LED:
- Connect the common anode pin to the positive terminal of your power source (5V).
- For each segment, connect a resistor in series. Connect one end of the resistor to the corresponding segment pin and the other end to a digital output pin that can be set to ground when you want to light up that segment.
Four - digit 7 Segment LED Connection
The Four - digit 7 Segment LED is a bit more complex but still doable. It has four individual one - digit 7 segment LEDs combined.
There are two main methods to control a four - digit 7 segment LED: multiplexing and direct driving. Multiplexing is more common because it uses fewer pins.
Multiplexing Method
- Identify the common pins for each digit. In a common cathode four - digit 7 segment LED, there are four common cathode pins, one for each digit. Connect these pins to digital output pins on your microcontroller. These pins are used to select which digit you want to display on.
- The segment pins (a, b, c, d, e, f, g) are shared among all the digits. Connect resistors in series to these segment pins just like in the one - digit case. Connect the other ends of the resistors to some other digital output pins on your microcontroller.
- To display a number on a specific digit, you first select the digit by setting its common pin to ground (for common cathode). Then, you set the appropriate segment pins to high voltage to display the desired number. You do this very quickly for each digit in a sequence, so it appears as if all the digits are lit up at the same time.
For example, if you want to display "1234", you'll first select the first digit, set the segments to display "1", then quickly select the second digit and set the segments to display "2", and so on.
Troubleshooting
Sometimes, things don't go as planned. If your 7 segment LED isn't lighting up at all, check your connections. Make sure there are no loose wires, and that the power source is working correctly.
If some segments aren't lighting up, it could be a problem with the resistor or a faulty LED segment. Check the resistor values and try replacing the LED if possible.
Wrapping Up and Connecting for Business
So, that's how you connect 7 Segement LED Graphics. Whether it's a one - digit or four - digit one, with a bit of patience and some basic knowledge of electronics, you can get them up and running.
If you're in the market for high - quality 7 Segement LED Graphics, I'm here to help. I've got a wide range of products that can meet your needs. Whether you're working on a small DIY project or a large - scale industrial application, I've got you covered. If you're interested in purchasing, feel free to reach out and let's have a chat about your requirements.
References
- Electronics textbooks on basic LED circuits
- Datasheets of 7 segment LED products