

Hey there! As a supplier of 7 segment LED display modules, I'm stoked to share with you how to use these nifty little devices. Whether you're a hobbyist working on a DIY project or a professional in the electronics field, understanding how to work with 7 segment LEDs can open up a world of possibilities.
What is a 7 Segment LED Display Module?
Let's start with the basics. A 7 segment LED display module is a common type of electronic display used to show numbers and some basic characters. It consists of seven individual LEDs arranged in a specific pattern, along with an optional decimal point. The segments are typically labeled from a to g, and by lighting up different combinations of these segments, you can display the digits 0 - 9 and a few letters.
Types of 7 Segment LED Display Modules
There are different types of 7 segment LED display modules out there. You've got single-digit displays, which are great for showing a single number. Then there are multi-digit displays, like Two-digit Seven Segment LED and Three-digit 7 Segment LED, which can show multiple numbers at once. These are super useful for things like clocks, calculators, and measuring instruments.
How to Connect a 7 Segment LED Display Module
Connecting a 7 segment LED display module is relatively straightforward, but it does require a bit of knowledge about electronics. First, you need to understand the two main types of 7 segment displays: common cathode and common anode.

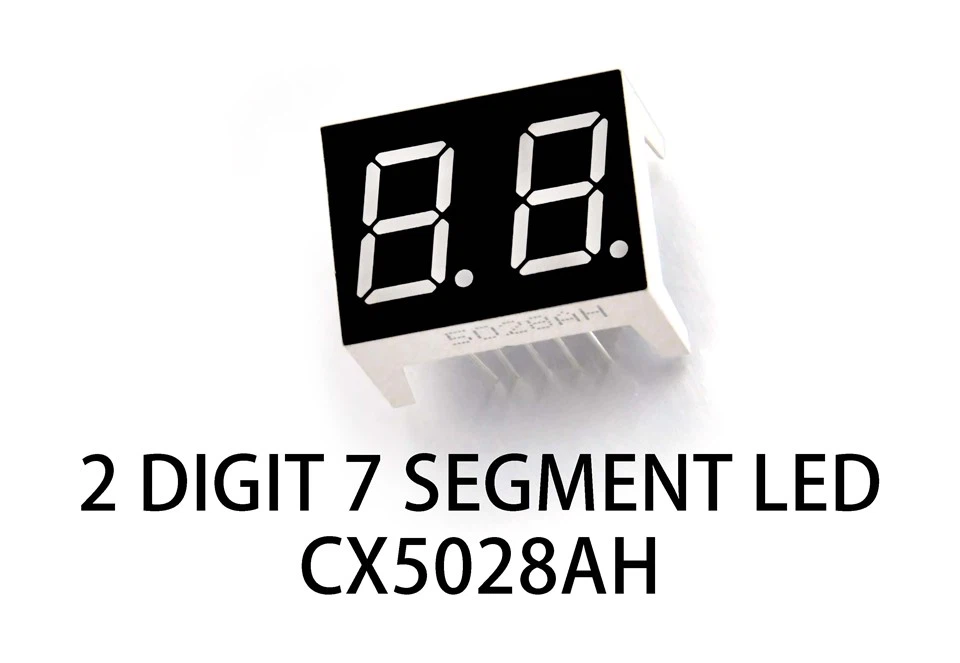
- Common Cathode: In a common cathode display, all the cathodes (negative terminals) of the individual LEDs are connected together. To light up a segment, you apply a high voltage (usually 5V) to the corresponding segment's anode and connect the common cathode to ground.
- Common Anode: In a common anode display, all the anodes (positive terminals) of the individual LEDs are connected together. To light up a segment, you connect the common anode to a high voltage (usually 5V) and apply a low voltage (ground) to the corresponding segment's cathode.
Here's a basic step-by-step guide on how to connect a single-digit 7 segment LED display module:
- Identify the Pins: Look at the datasheet of your display module to figure out which pins correspond to each segment (a - g) and the common terminal.
- Power Supply: Connect the common terminal to the appropriate voltage source (either ground for common cathode or 5V for common anode).
- Segment Connections: Connect each segment pin (a - g) to a digital output pin on your microcontroller or driver circuit. You'll also need to add a current-limiting resistor in series with each segment to prevent the LEDs from burning out.
- Testing: Once everything is connected, you can test your display by sending a signal to light up a specific segment. If it works, you're on the right track!
Controlling a 7 Segment LED Display Module
Now that you've got your display connected, it's time to figure out how to control it. There are a few different ways to do this, depending on your needs and the complexity of your project.
Using a Microcontroller
One of the most common ways to control a 7 segment LED display module is by using a microcontroller, like an Arduino or a Raspberry Pi. These devices allow you to write code to send signals to the display and show different numbers or characters.
Here's a simple example of how to display the number 8 on a common cathode 7 segment LED display using an Arduino:
// Define the pins for each segment
const int segA = 2;
const int segB = 3;
const int segC = 4;
const int segD = 5;
const int segE = 6;
const int segF = 7;
const int segG = 8;

void setup() {
  // Set all segment pins as output
  pinMode(segA, OUTPUT);
  pinMode(segB, OUTPUT);
  pinMode(segC, OUTPUT);
  pinMode(segD, OUTPUT);
  pinMode(segE, OUTPUT);
  pinMode(segF, OUTPUT);
  pinMode(segG, OUTPUT);
}

void loop() {
  // Turn on all segments to display the number 8
  digitalWrite(segA, HIGH);
  digitalWrite(segB, HIGH);
  digitalWrite(segC, HIGH);
  digitalWrite(segD, HIGH);
  digitalWrite(segE, HIGH);
  digitalWrite(segF, HIGH);
  digitalWrite(segG, HIGH);
  delay(1000); // Wait for 1 second
}
Using a 7 Segment Display Driver
If you're working with a multi-digit display or you want to simplify the control process, you can use a 7 segment display driver. These chips are designed to handle all the complex signaling required to drive a 7 segment display, so you don't have to worry about it. Some popular 7 segment display drivers include the MAX7219 and the TM1637.
Displaying Different Numbers and Characters
Once you've got your display connected and controlled, you can start displaying different numbers and characters. To do this, you need to know the segment patterns for each digit and character. Here's a table showing the segment patterns for the digits 0 - 9 on a common cathode display:
| Digit | Segment Pattern (a - g) |
|---|---|
| 0 | 1111110 |
| 1 | 0110000 |
| 2 | 1101101 |
| 3 | 1111001 |
| 4 | 0110011 |
| 5 | 1011011 |
| 6 | 1011111 |
| 7 | 1110000 |
| 8 | 1111111 |
| 9 | 1111011 |
To display a specific digit, you simply send the corresponding segment pattern to the display. For example, to display the number 5, you would turn on segments a, c, d, f, and g, and turn off segments b and e.
Advanced Applications
7 segment LED display modules can be used in a wide variety of advanced applications. For example, you can use them to create custom gauges, scoreboards, or even 7 Segement LED Graphics. With a bit of creativity and some programming skills, the possibilities are endless.
Conclusion
Well, that's a wrap on how to use a 7 segment LED display module! I hope this guide has been helpful and has given you a better understanding of these versatile devices. If you're interested in purchasing 7 segment LED display modules for your projects, feel free to reach out to us. We're here to help you find the right products for your needs and provide you with the support you need to get your projects up and running.
References
- Arduino Documentation
- Datasheets of 7 segment LED display modules and drivers