

Hey there, electronics enthusiasts! If you're into DIY projects or working on professional electronic designs, you've probably come across 7 Segment LED Graphics. Well, I'm stoked to share my insights as a 7 Segment LED Graphics supplier on how to integrate these nifty components with other electronic parts.
First off, let's talk about what 7 Segment LED Graphics are. They're those little displays you often see in digital clocks, calculators, and other devices. They've got seven segments (plus sometimes a decimal point) that can be lit up in different combinations to show numbers from 0 - 9 and a few letters.
Types of 7 Segment LED Graphics
There are different types of 7 Segment LED Graphics out there. For instance, we've got the One-digit 7 Segment LED. As the name suggests, it can display a single digit. It's super handy for simple projects where you just need to show one number, like a basic temperature monitor.
Then there's the Four-digit 7 Segment LED. This one can show up to four digits at once. You'll often find these in digital clocks or timers. They're great for projects that require more complex numerical displays.
And don't forget the Three-digit 7 Segment LED. It's a middle - ground option, useful for things like small scoreboards or simple counters.
Integrating with Microcontrollers
One of the most common ways to integrate 7 Segment LED Graphics is with microcontrollers. Microcontrollers are like the brains of an electronic project. They can send signals to the 7 Segment LED to control which segments are lit up.
Let's take an Arduino as an example. Arduino is a popular microcontroller platform that's easy to work with, even for beginners. To connect a 7 Segment LED to an Arduino, you'll need to understand the pinout of the LED. Each segment of the 7 Segment LED is connected to a specific pin, and the common pin (either common cathode or common anode) needs to be connected properly.
If you're using a common cathode 7 Segment LED, you connect the common pin to ground, and then you send a high signal to the individual segment pins to light them up. For a common anode 7 Segment LED, it's the opposite. You connect the common pin to the positive voltage source, and then send a low signal to the segment pins to light them.
Here's a simple code snippet in Arduino to display the number 5 on a common cathode 7 Segment LED:
// Define pins for each segment
int segA = 2;
int segB = 3;
int segC = 4;
int segD = 5;
int segE = 6;
int segF = 7;
int segG = 8;

void setup() {
  // Set all segment pins as outputs
  pinMode(segA, OUTPUT);
  pinMode(segB, OUTPUT);
  pinMode(segC, OUTPUT);
  pinMode(segD, OUTPUT);
  pinMode(segE, OUTPUT);
  pinMode(segF, OUTPUT);
  pinMode(segG, OUTPUT);
}

void loop() {
  // Display number 5
  digitalWrite(segA, HIGH);
  digitalWrite(segB, LOW);
  digitalWrite(segC, LOW);
  digitalWrite(segD, HIGH);
  digitalWrite(segE, HIGH);
  digitalWrite(segF, HIGH);
  digitalWrite(segG, HIGH);
  delay(1000);
}
Integrating with Sensors
Another cool way to integrate 7 Segment LED Graphics is with sensors. Sensors can detect various physical quantities like temperature, light, or motion, and then the 7 Segment LED can display the measured values.
For example, if you're using a temperature sensor like the DHT11, you can connect it to a microcontroller. The microcontroller reads the temperature data from the sensor and then converts it into a numerical value that can be displayed on the 7 Segment LED.
First, you need to connect the sensor to the microcontroller according to its datasheet. Then, you write code to read the sensor data. Here's a simplified example of how you could display temperature data on a 7 Segment LED using an Arduino and a DHT11 sensor:
#include <dht.h>

#define DHTPIN 2
#define DHTTYPE DHT11

dht DHT;

// Define pins for 7 Segment LED
int segA = 3;
int segB = 4;
int segC = 5;
int segD = 6;
int segE = 7;
int segF = 8;
int segG = 9;

void setup() {
  // Set all segment pins as outputs
  pinMode(segA, OUTPUT);
  pinMode(segB, OUTPUT);
  pinMode(segC, OUTPUT);
  pinMode(segD, OUTPUT);
  pinMode(segE, OUTPUT);
  pinMode(segF, OUTPUT);
  pinMode(segG, OUTPUT);
}

void loop() {
  int chk = DHT.read11(DHTPIN);
  int temp = DHT.temperature;

  // Convert temperature to segments and display
  // This part would require more complex code to convert the number to segments
  // For simplicity, let's just assume a function convertToSegments exists
  convertToSegments(temp);
  delay(2000);
}
Using Shift Registers
If you're working with multiple 7 Segment LEDs or you want to save on the number of pins used on your microcontroller, you can use shift registers. Shift registers allow you to control multiple outputs using just a few input pins.
A popular shift register is the 74HC595. You connect the shift register to the microcontroller, and then connect the outputs of the shift register to the 7 Segment LED. The microcontroller sends data to the shift register, which then distributes the signals to the appropriate segments of the LED.
The advantage of using shift registers is that you can control multiple 7 Segment LEDs with just three or four pins on the microcontroller, which is great if your microcontroller has limited pin availability.
Power Considerations
When integrating 7 Segment LED Graphics with other components, you need to pay attention to power requirements. 7 Segment LEDs draw a certain amount of current, and if you're using multiple LEDs or power - hungry components, you might need to use an external power supply.
Make sure that the power supply can provide enough current to all the components in your circuit. Also, use appropriate resistors to limit the current flowing through the LEDs to prevent them from burning out.
Conclusion and Call to Action
Integrating 7 Segment LED Graphics with other electronic components opens up a world of possibilities for your projects. Whether you're a hobbyist working on a fun DIY project or a professional designer creating a commercial product, these integration techniques can help you bring your ideas to life.
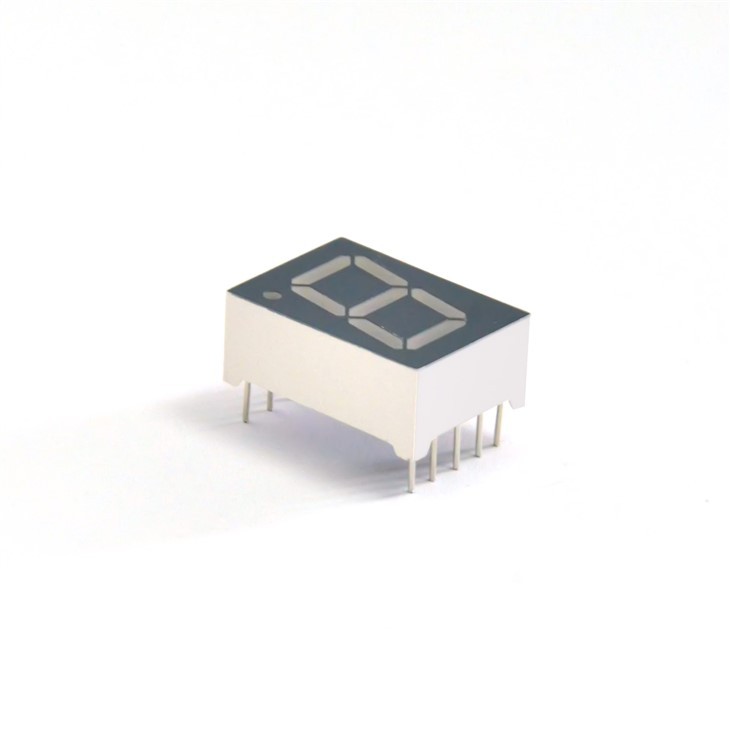

If you're interested in purchasing high - quality 7 Segment LED Graphics for your projects, feel free to reach out. We offer a wide range of 7 Segment LED options, including the One-digit 7 Segment LED, Four-digit 7 Segment LED, and Three-digit 7 Segment LED. We're here to help you with any technical questions and ensure you get the right components for your needs.
References
- Arduino Official Documentation
- Datasheets for 7 Segment LEDs, microcontrollers, sensors, and shift registers
- Online electronics forums and communities for practical tips and examples