In the realm of electronics, integrating a motion sensor with 7 Segment LED Graphics can yield remarkable results, offering a dynamic and interactive display solution. As a leading supplier of 7 Segment LED Graphics, I am excited to share comprehensive insights on how to effectively use a motion sensor with these LED displays.
Understanding the Basics
Before delving into the integration process, it's crucial to understand the fundamental components involved. A motion sensor is a device that detects movement in its vicinity. There are various types of motion sensors, including passive infrared (PIR) sensors, ultrasonic sensors, and microwave sensors. Each type has its own unique characteristics and applications.
On the other hand, 7 Segment LED Graphics are a popular choice for displaying numerical and some alphabetical characters. They consist of seven individual LED segments arranged in a specific pattern, along with a decimal point in some cases. These segments can be illuminated in different combinations to represent different numbers and characters.

Selecting the Right Components
The first step in using a motion sensor with 7 Segment LED Graphics is to select the appropriate components. When choosing a motion sensor, consider factors such as the detection range, sensitivity, and response time. For most applications, a PIR sensor is a cost - effective and reliable choice. It can detect infrared radiation emitted by living beings and moving objects within its field of view.
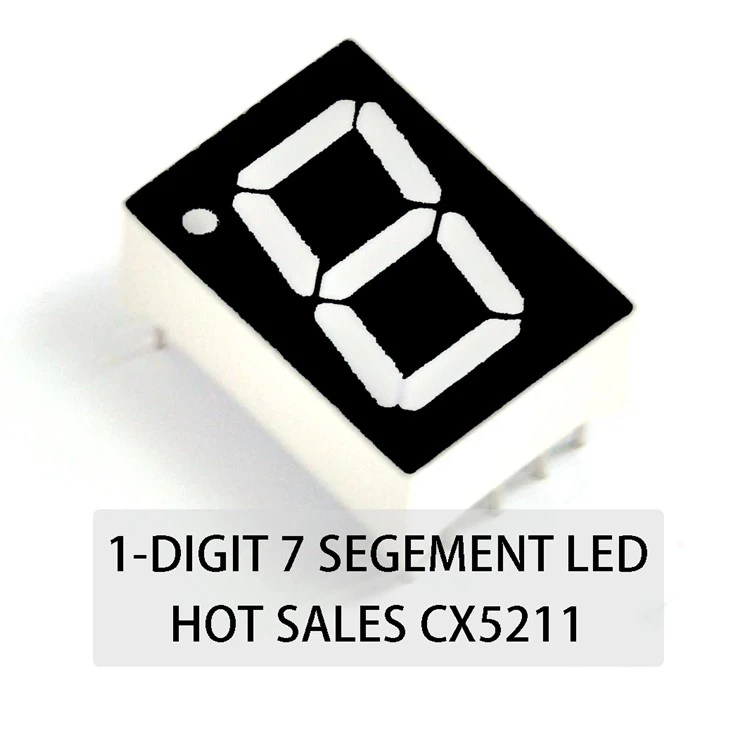
As for the 7 Segment LED Graphics, you have several options. If you need to display single - digit numbers, a One - digit 7 Segment LED is ideal. For displaying multi - digit numbers, you can opt for Three - digit 7 Segment LED or Four - digit 7 Segment LED depending on your requirements.
Circuit Design
Once you have selected the components, the next step is to design the circuit. The basic circuit for integrating a motion sensor with 7 Segment LED Graphics consists of the motion sensor, a microcontroller, and the 7 Segment LED display.
The motion sensor is connected to the microcontroller. When the motion sensor detects movement, it sends a signal to the microcontroller. The microcontroller then processes this signal and decides what action to take. In our case, it will control the 7 Segment LED display.
The 7 Segment LED display is also connected to the microcontroller. The microcontroller sends the appropriate signals to the individual segments of the LED display to light them up in the desired pattern. For example, to display the number '5', the microcontroller will send signals to turn on the appropriate segments (a, c, d, f, g).
Here is a simple example of how to connect a PIR motion sensor and a one - digit 7 Segment LED to an Arduino microcontroller:
- Connect the VCC pin of the PIR sensor to the 5V pin of the Arduino.
- Connect the GND pin of the PIR sensor to the GND pin of the Arduino.
- Connect the OUT pin of the PIR sensor to a digital input pin (e.g., pin 2) of the Arduino.
- For the 7 Segment LED, connect each segment (a, b, c, d, e, f, g, dp) to a digital output pin of the Arduino. Also, connect the common cathode or common anode pin to the appropriate power source.
Programming the Microcontroller
After the circuit is set up, you need to program the microcontroller. The programming language used depends on the microcontroller you are using. For Arduino, the Arduino IDE uses a simplified version of C/C++.
Here is a basic code example to display a number on the 7 Segment LED when motion is detected:
const int motionPin = 2;
const int segmentPins[] = {2, 3, 4, 5, 6, 7, 8, 9};
int digitSegments[] = {0b00111111, 0b00000110, 0b01011011, 0b01001111, 0b01100110, 0b01101101, 0b01111101, 0b00000111, 0b01111111, 0b01101111};

void setup() {
  pinMode(motionPin, INPUT);
  for (int i = 0; i < 8; i++) {
    pinMode(segmentPins[i], OUTPUT);
  }
}

void loop() {
  int motionDetected = digitalRead(motionPin);
  if (motionDetected == HIGH) {
    displayNumber(5);
  } else {
    clearDisplay();
  }
}

void displayNumber(int num) {
  byte segments = digitSegments[num];
  for (int i = 0; i < 7; i++) {
    digitalWrite(segmentPins[i], bitRead(segments, i));
  }
}

void clearDisplay() {
  for (int i = 0; i < 7; i++) {
    digitalWrite(segmentPins[i], LOW);
  }
}
In this code, when the motion sensor detects movement, the number '5' is displayed on the 7 Segment LED. When no motion is detected, the display is cleared.
Applications
The combination of a motion sensor and 7 Segment LED Graphics has a wide range of applications.
Security Systems
In security systems, the motion sensor can detect unauthorized movement. When movement is detected, the 7 Segment LED display can show a warning code or a countdown timer until an alarm is triggered.
Interactive Displays
In museums or exhibitions, motion - activated 7 Segment LED displays can provide information about exhibits. When a visitor approaches an exhibit, the display can show details such as the name of the exhibit, its history, or other relevant information.
Energy - Saving Devices
In public areas, motion - controlled 7 Segment LED displays can be used to show energy consumption data. The display can be turned on only when motion is detected, saving energy.
Troubleshooting
When working with a motion sensor and 7 Segment LED Graphics, you may encounter some issues. Here are some common problems and their solutions:
No Motion Detection
If the motion sensor is not detecting movement, check the power supply. Make sure the sensor is getting the correct voltage. Also, check the sensitivity settings of the sensor. Sometimes, the sensitivity may be set too low.
Incorrect Display on 7 Segment LED
If the 7 Segment LED is not displaying the correct numbers or characters, check the wiring. Make sure each segment is connected to the correct pin on the microcontroller. Also, check the programming code to ensure that the correct signals are being sent to the segments.
Conclusion
Integrating a motion sensor with 7 Segment LED Graphics is a fascinating and practical project. It offers a wide range of applications and can enhance the functionality of your electronic devices. As a supplier of high - quality 7 Segment LED Graphics, we are committed to providing you with the best products and support.
If you are interested in purchasing our 7 Segment LED Graphics for your motion - sensor projects or have any questions regarding the integration process, we encourage you to contact us for procurement and further discussions. Our team of experts is ready to assist you in finding the most suitable solutions for your needs.
References
- Arduino Official Documentation
- Electronics textbooks on sensors and displays
- Online resources on motion sensor and LED display integration